矩池云上安装CUDA教程
CUDA简介
CUDA™(英文全称Compute Unified Device Architecture),是NVIDIA推出的通用并行计算架构。按照官方的说法,该架构使GPU能够解决复杂的计算问题,让使用GPU进行通用计算变得简单和优雅。
在CUDA架构之下,开发人员可以通过CUDA C对GPU进行编程,CUDA C是对标准C的简单扩展。看了很多答案,有人说CUDA就是一门编程语言,像C,C++,python 一样,也有人说CUDA是API。

CUDA Toolkit简介
NVIDIA® CUDA® 工具包提供了开发环境,可供创建经 GPU 加速的高性能应用。借助 CUDA 工具包,您可以在经 GPU 加速的嵌入式系统、台式工作站、企业数据中心、基于云的平台和 HPC 超级计算机中开发、优化和部署应用。此工具包中包含多个 GPU 加速库、多种调试和优化工具、一个 C/C++ 编译器以及一个用于在主要架构(包括 x86、Arm 和 POWER)上构建和部署应用的运行时库。
CUDA Toolkit由以下组件组成:
- Compiler: CUDA-C和CUDA-C++编译器NVCC位于bin/目录中。它建立在NVVM优化器之上,而NVVM优化器本身构建在LLVM编译器基础结构之上。因此开发人员可以使用nvm/目录下的Compiler SDK来直接针对NVVM进行开发。
- Tools: 提供一些像profiler,debuggers等工具,这些工具可以从bin/目录中获取
- Libraries: 下面列出的部分科学库和实用程序库可以在lib/目录中使用(Windows上的DLL位于bin/中),它们的接口在include/目录中可获取。
- cudart: CUDA Runtime
- cudadevrt: CUDA device runtime
- cupti: CUDA profiling tools interface
- nvml: NVIDIA management library
- nvrtc: CUDA runtime compilation
- cublas: BLAS (Basic Linear Algebra Subprograms,基础线性代数程序集)
- cublas_device: BLAS kernel interface
- ...
- CUDA Samples: 演示如何使用各种CUDA和library API的代码示例。可在Linux和Mac上的samples/目录中获得,Windows上的路径是C:\ProgramData\NVIDIA Corporation\CUDA Samples中。在Linux和Mac上,samples/目录是只读的,如果要对它们进行修改,则必须将这些示例复制到另一个位置。
- CUDA Driver: 运行CUDA应用程序需要系统至少有一个具有CUDA功能的GPU和与CUDA工具包兼容的驱动程序。
CUDA Driver与CUDA Toolkit安装对照表
每个版本的CUDA工具包都对应一个最低版本的CUDA Driver,也就是说如果你安装的CUDA Driver版本比官方推荐的还低,那么很可能会无法正常运行。CUDA Driver是向后兼容的,这意味着根据CUDA的特定版本编译的应用程序将继续在后续发布的Driver上也能继续工作。通常为了方便,在安装CUDA Toolkit的时候会默认安装CUDA Driver。在使用过程中,我们可以通过查看NVIDIA CUDA Toolkit 发布说明来找到,CUDA Toolkit 与 CUDA Driver 版本信息。
CUDA Toolkit and Corresponding Driver Versions
| CUDA Toolkit | Toolkit Driver Version | Minimum Required Driver Version* |
|---|---|---|
| Linux x86_64 Driver Version | Linux x86_64 Driver Version | |
| CUDA 11.3.0 GA | >=465.19.01 | >= 450.80.02 |
| CUDA 11.2.2 Update 2 | >=460.32.03 | >= 450.80.02 |
| CUDA 11.2.1 Update 1 | >=460.32.03 | >= 450.80.02 |
| CUDA 11.2.0 GA | >=460.27.03 | >= 450.80.02 |
| CUDA 11.1.1 Update 1 | >=455.32 | >= 450.80.02 |
| CUDA 11.1 GA | >=455.23 | >= 450.80.02 |
| CUDA 11.0.3 Update 1 | >= 450.51.06 | >= 450.51.06 |
| CUDA 11.0.2 GA | >= 450.51.05 | >= 450.51.06 |
| CUDA 11.0.1 RC | >= 450.36.06 | >= 450.51.06 |
| CUDA 10.2.89 | >= 440.33 | >= 440.33 |
| CUDA 10.1 (10.1.105 general release, and updates) | >= 418.39 | >= 418.39 |
| CUDA 10.0.130 | >= 410.48 | >= 410.48 |
| CUDA 9.2 (9.2.148 Update 1) | >= 396.37 | >= 396.37 |
| CUDA 9.2 (9.2.88) | >= 396.26 | >= 396.26 |
| CUDA 9.1 (9.1.85) | >= 390.46 | >= 390.46 |
| CUDA 9.0 (9.0.76) | >= 384.81 | >= 384.81 |
| CUDA 8.0 (8.0.61 GA2) | >= 375.26 | >= 375.26 |
| CUDA 8.0 (8.0.44) | >= 367.48 | >= 367.48 |
| CUDA 7.5 (7.5.16) | >= 352.31 | >= 352.31 |
| CUDA 7.0 (7.0.28) | >= 346.46 | >= 346.46 |
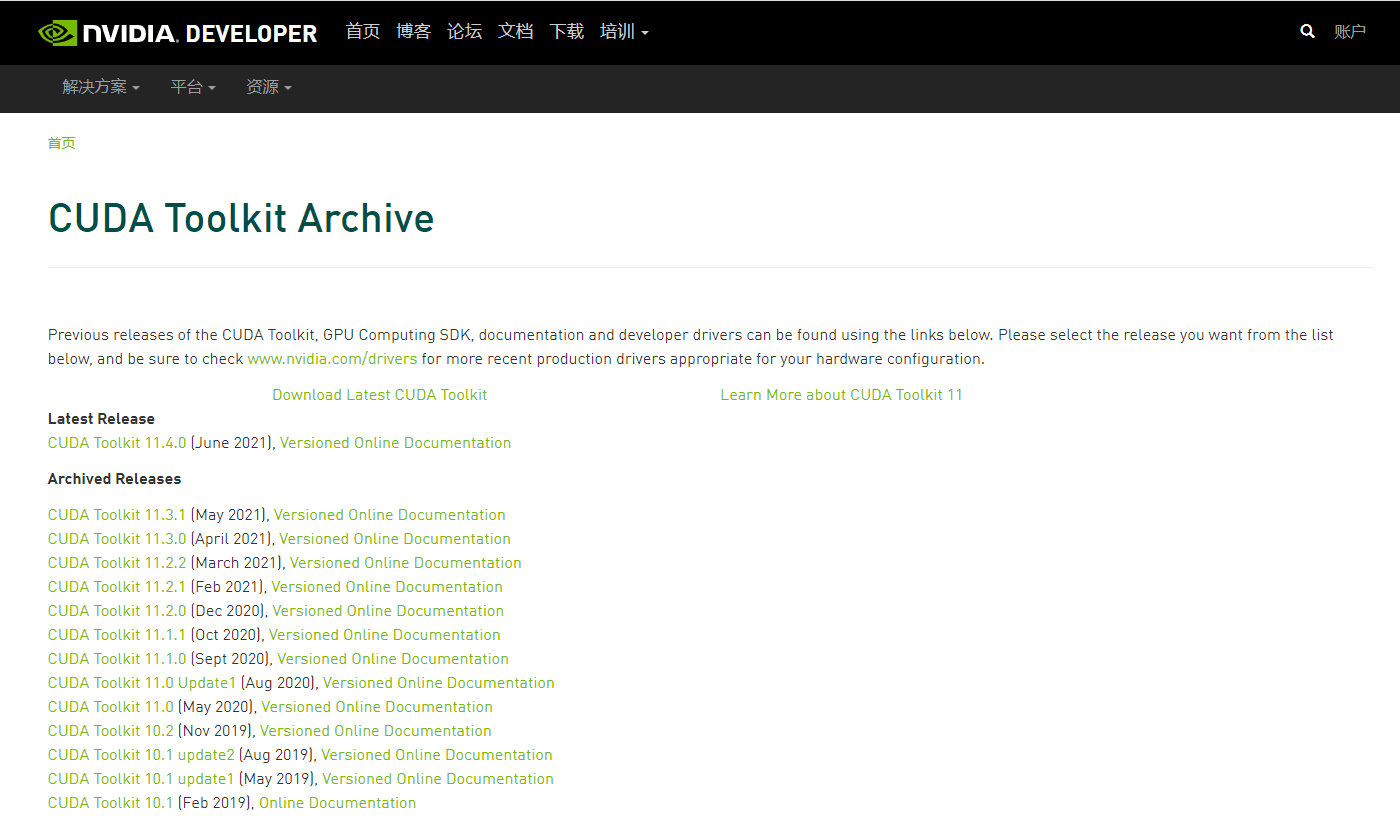
CUDA快速安装
我们可以打开 CUDA Toolkit Archive 页面,找到自己需要的。使用矩池云的用户可以省去这一步,平台已经为你预备好了,就在公开数据集目录的cuda文件夹内。
CUDA Toolkit Archive:https://developer.nvidia.com/cuda-toolkit-archive 矩池云目录:cd /public/cuda/
选择你需要的版本
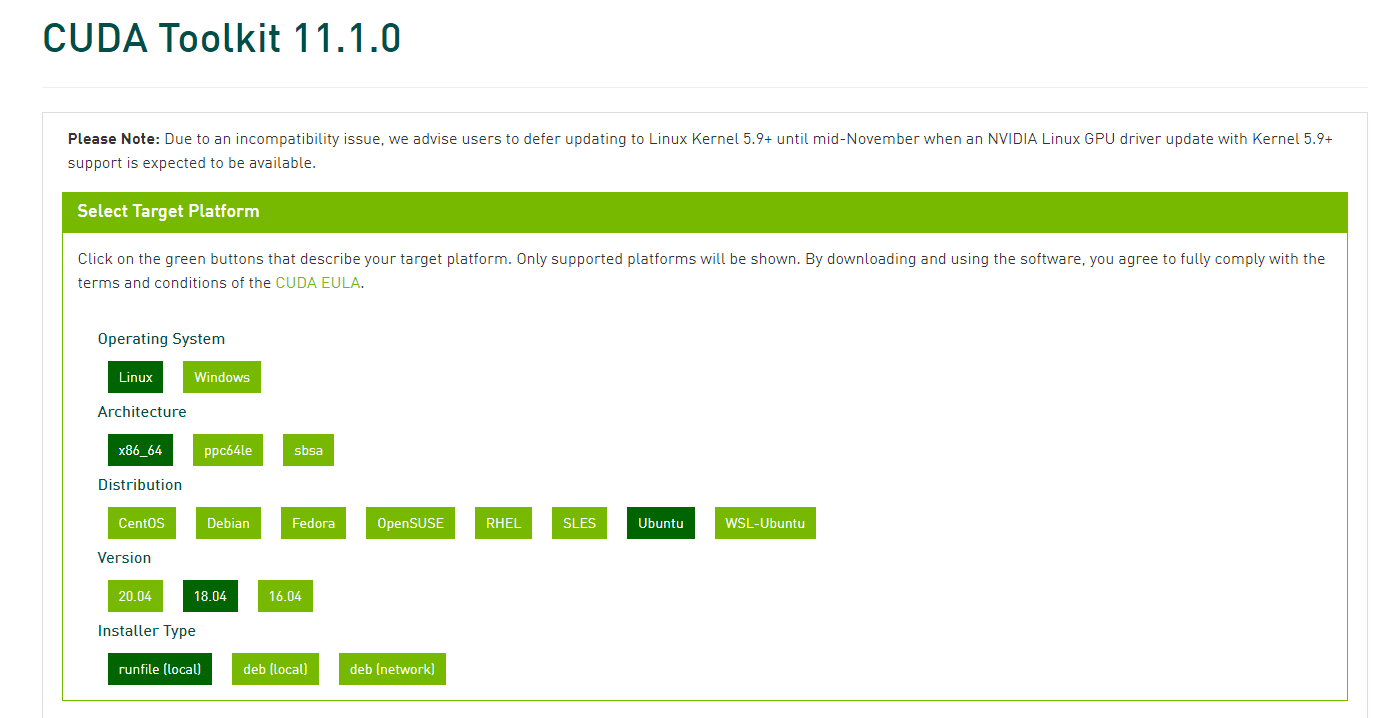
官方提供了runfile (local)、deb (local)、deb (network)三种方式来进行安装的。我这里介绍的是两种比较常见的办法。
方法一:使用 runfile (local) 安装完整cuda
以安装cuda11.2为例,我们先来查看帮助文档,命令如下
bash /public/cuda/cuda_11.2.2_460.32.03_linux.run -h
帮助描述如下:
Options:
  --silent
    Performs an installation with no further user-input and minimal
    command-line output based on the options provided below. Silent
    installations are useful for scripting the installation of CUDA.
    Using this option implies acceptance of the EULA. The following flags
    can be used to customize the actions taken during installation. At
    least one of --driver, --uninstall, --toolkit, and --samples must
    be passed if running with non-root permissions.

  --driver
    Install the CUDA Driver.

  --toolkit
    Install the CUDA Toolkit.

  --toolkitpath=<path>
    Install the CUDA Toolkit to the <path> directory. If this flag is not
    provided, the default path of /usr/local/cuda-10.2 is used.

  --samples
    Install the CUDA Samples.

  --samplespath=<path>
    Install the CUDA Samples to the <path> directory. If this flag is not
    provided, the default path of /root/NVIDIA_CUDA-10.2_Samples is used.

  --librarypath=<path>
    Install libraries to the <path> directory. If this flag is not provided,
    the default path of your distribution is used. This flag only applies to
    libraries installed outside of the CUDA Toolkit path.

  --installpath=<path>
    Install everything to the <path> directory. This flag sets the same values
    as the toolkitpath, samplespath, and librarypath options.

  --extract=<path>
    Extracts driver runfile and the raw files of the toolkit and samples to
    <path>.

    This is especially useful when one wants to install the driver using one or
    more of the command-line options provided by the driver installer which
    are not exposed in this installer.

  --override
    Ignores compiler version checks which would prevent installation.

  --no-opengl-libs
    Prevents the driver installation from installing NVIDIA's GL libraries.
    Useful for systems where the display is driven by a non-NVIDIA GPU.
    In such systems, NVIDIA's GL libraries could prevent X from loading
    properly.

  --no-man-page
    Do not install the man pages under /usr/share/man.

  --kernel-source-path=<path>
    Tells the driver installation to use <path> as the kernel source directory
    when building the NVIDIA kernel module. Required for systems where the
    kernel source is installed to a non-standard location.

  --run-nvidia-xconfig
    Tells the driver installation to run nvidia-xconfig to update the system
    X configuration file so that the NVIDIA X driver is used. The pre-existing
    X configuration file will be backed up.

    This option should not be used on systems that require a custom
    X configuration, or on systems where a non-NVIDIA GPU is rendering the
    display.

  --no-drm
    Do not install the nvidia-drm kernel module. This kernel module provides
    several features, including X11 autoconfiguration, support for PRIME, and
    DRM-KMS. The latter is used to support modesetting on windowing systems
    that run independently of X11. The '--no-drm' option should only be used
    to work around failures to build or install the nvidia-drm kernel module
    on systems that do not need these features.

  --tmpdir=<path>
    Performs any temporary actions within <path> instead of /tmp. Useful in
    cases where /tmp cannot be used (doesn't exist, is full, is mounted with
    'noexec', etc.).

  --help
    Prints this help message.
我们同时安装toolkit与samples,安装命令如下,
bash /public/cuda/cuda_11.2.2_460.32.03_linux.run --silent --toolkit --samples
也可以单独安装toolkit与samples,安装命令如下
bash /public/cuda/cuda_11.2.2_460.32.03_linux.run --silent --toolkit
bash /public/cuda/cuda_11.2.2_460.32.03_linux.run --silent --samples
安装包md5值数据如下,
| 安装包 | md5 |
|---|---|
| cuda_7.0.28_linux.run | 312aede1c3d1d3425c8caa67bbb7a55e |
| cuda_7.5.18_linux.run | 4b3bcecf0dfc35928a0898793cf3e4c6 |
| cuda_8.0.61_375.26_linux.run | 33e1bd980e91af4e55f3ef835c103f9b |
| cuda_9.0.176_384.81_linux.run | 7a00187b2ce5c5e350e68882f42dd507 |
| cuda_9.1.85_387.26_linux.run | 67a5c3933109507df6b68f80650b4b4a |
| cuda_9.2.148_396.37_linux.run | 8303cdf46904e6dea8d5d641b0b46f0d |
| cuda_10.0.130_410.48_linux.run | 9375304c8dc8d42e7f9a9ae37e80b42b |
| cuda_10.1.243_418.87.00_linux.run | a71f703ed688eeca637dc27df714e854 |
| cuda_10.2.89_440.33.01_linux.run | 3d816c583759efa8567a92c1a2af90db |
| cuda_11.0.3_450.51.06_linux.run | 70af4cebe30549b9995fb9c57d538214 |
| cuda_11.1.1_455.32.00_linux.run | c24e2755e3868692051a38797ce01044 |
| cuda_11.2.2_460.32.03_linux.run | 955ae5d59531923d32a3bfe3f68a7dfe |
方法二:使用 deb (network) 安装最小cuda
安装方法来自英伟达官方的gitlab,地址如下,
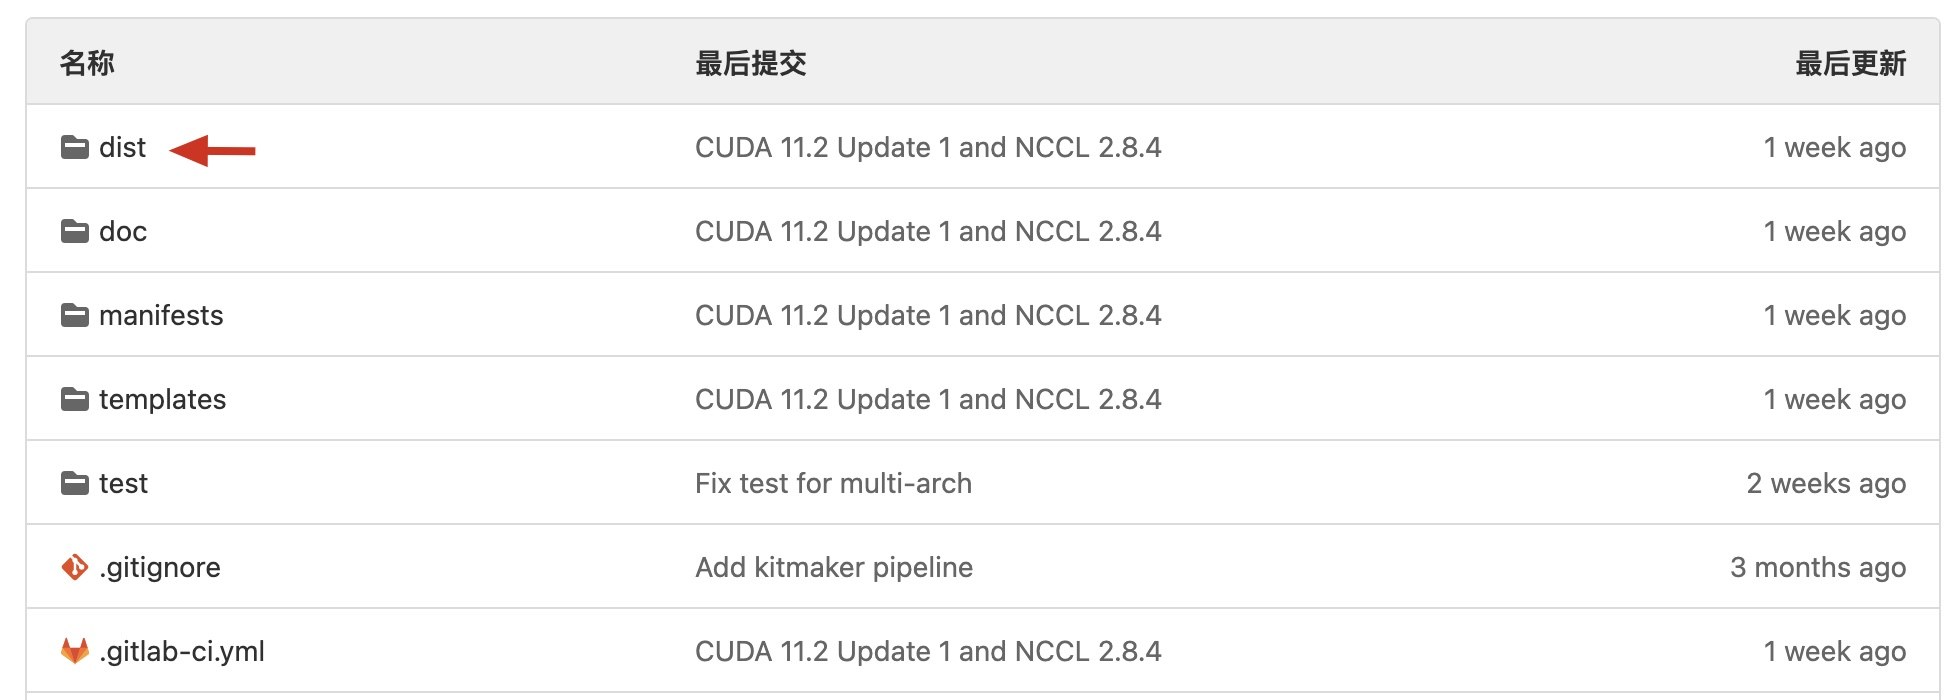
安装脚本在dist目录下
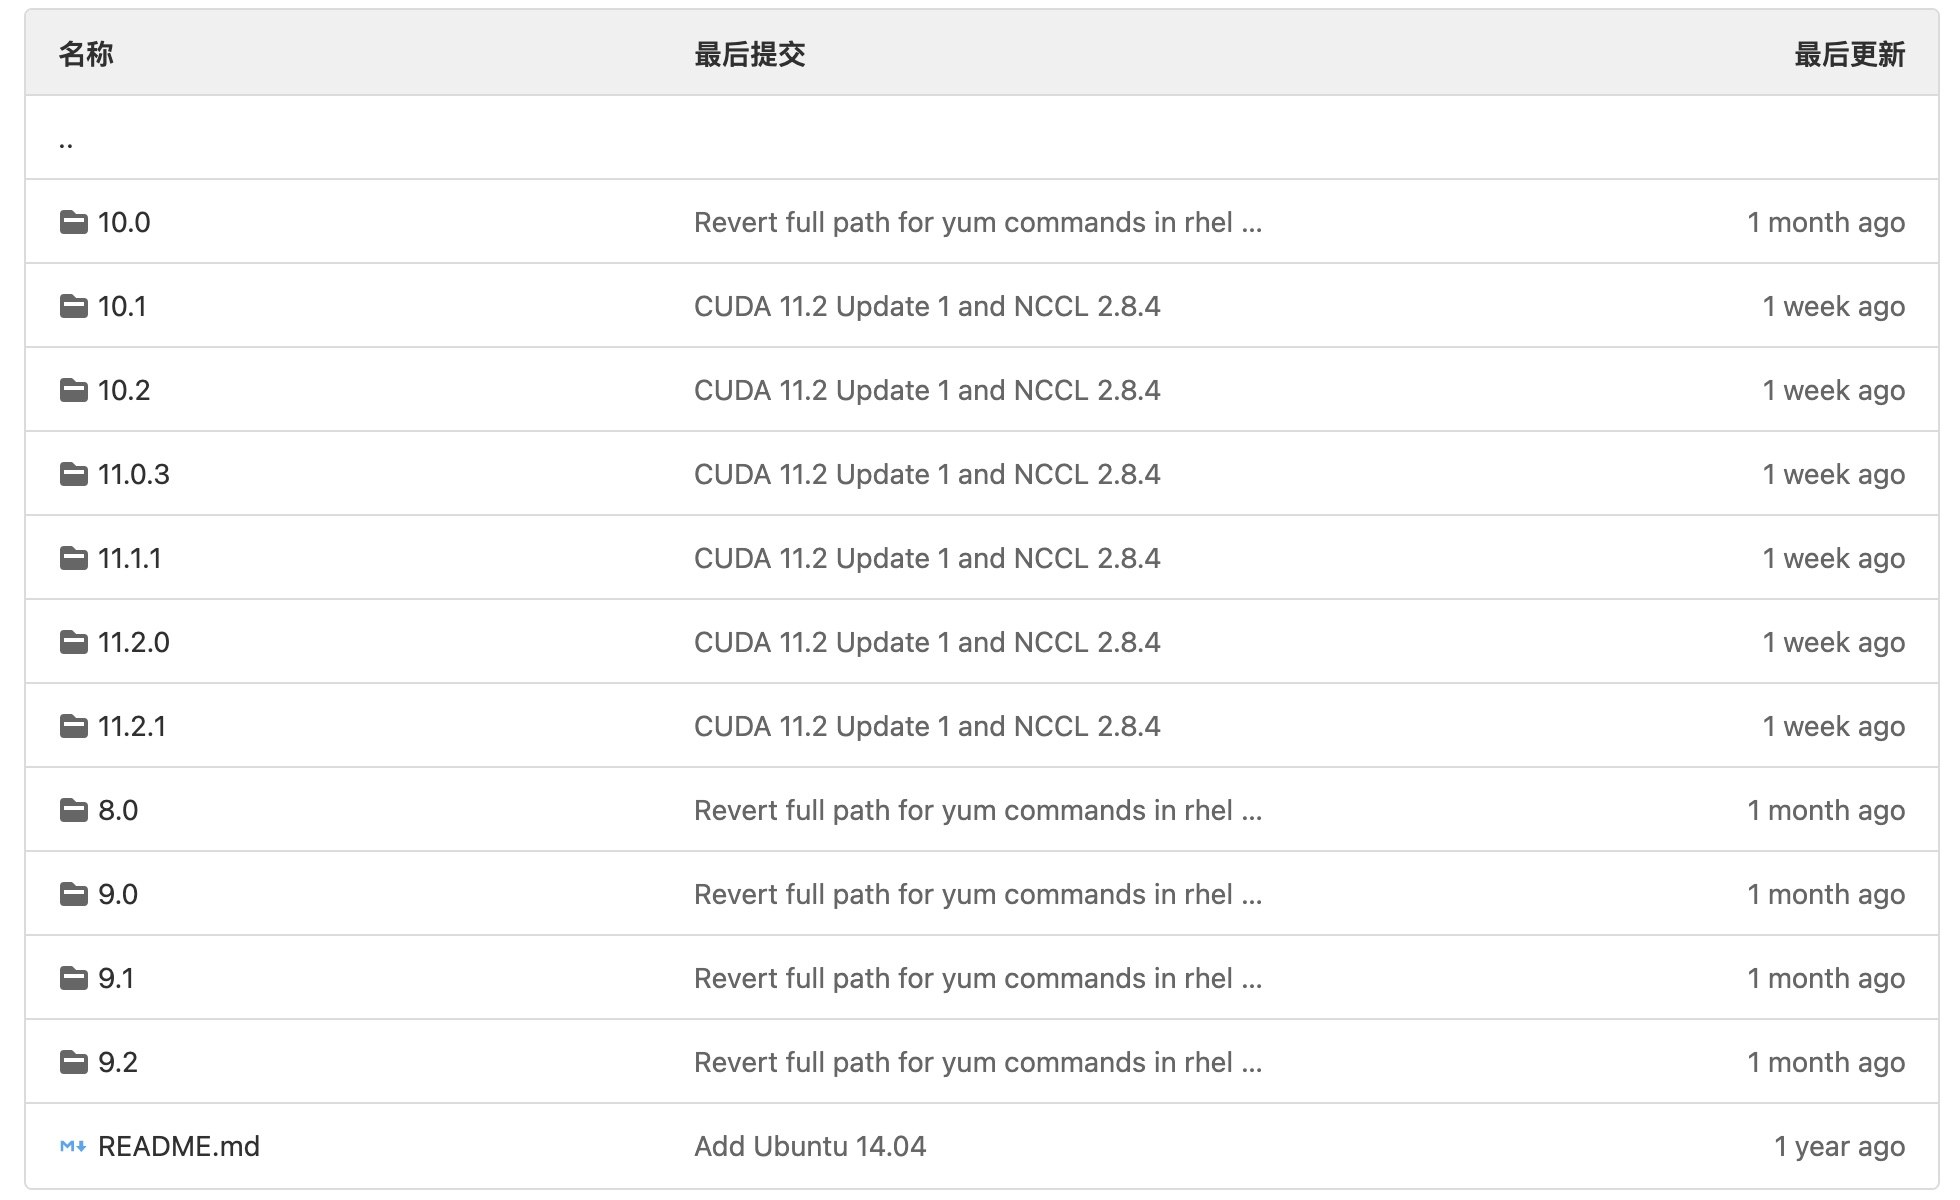
选择cuda的版本号
矩池云上cuda8/cuda9使用的是ubuntu16.04,cuda10及以上都是ubuntu18.04

- base:cuda安装方式
- devel:nvcc等安装方式
- runtime:cudnn等安装方式
检查系统版本
source /etc/os-release && echo $VERSION_ID
导入apt仓库和其GPG key
# 检查系统若输出 16.04,请用下面的命令

# 阿里源
curl -fsSL https://mirrors.aliyun.com/nvidia-cuda/ubuntu1604/x86_64/3bf863cc.pub | apt-key add - && \
echo "deb https://mirrors.aliyun.com/nvidia-cuda/ubuntu1604/x86_64/ /" > /etc/apt/sources.list.d/cuda.list

# 腾讯源
curl -fsSL https://mirrors.cloud.tencent.com/nvidia-cuda/ubuntu1604/x86_64/7fa2af80.pub  | apt-key add - && \
echo "deb https://mirrors.cloud.tencent.com/nvidia-cuda/ubuntu1604/x86_64/ /" > /etc/apt/sources.list.d/cuda.list

# 官方源
curl -fsSL https://developer.download.nvidia.com/compute/cuda/repos/ubuntu1604/x86_64/3bf863cc.pub | apt-key add - && \
echo "deb https://developer.download.nvidia.com/compute/cuda/repos/ubuntu1604/x86_64 /" > /etc/apt/sources.list.d/cuda.list

# 检查系统若输出 18.04,请用下面的命令

# 阿里源
curl -fsSL https://mirrors.aliyun.com/nvidia-cuda/ubuntu1804/x86_64/3bf863cc.pub | apt-key add - && \
echo "deb https://mirrors.aliyun.com/nvidia-cuda/ubuntu1804/x86_64/ /" > /etc/apt/sources.list.d/cuda.list

# 腾讯源
curl -fsSL https://mirrors.cloud.tencent.com/nvidia-cuda/ubuntu1804/x86_64/7fa2af80.pub | apt-key add - && \
echo "deb https://mirrors.cloud.tencent.com/nvidia-cuda/ubuntu1804/x86_64/ /" > /etc/apt/sources.list.d/cuda.list

# 官方源
curl -fsSL https://developer.download.nvidia.com/compute/cuda/repos/ubuntu1804/x86_64/3bf863cc.pub | apt-key add - && \
echo "deb https://developer.download.nvidia.com/compute/cuda/repos/ubuntu1804/x86_64 /" > /etc/apt/sources.list.d/cuda.list
推荐使用在国内的阿里源/腾讯源,官方源有时访问比较不友好。
安装所需版本的 cuda
以cuda11为例,根据Dockerfile得出安装命令如下

# 以升级到cuda11为例,直接复制下面的命令就OK

curl -fsSL https://mirrors.aliyun.com/nvidia-cuda/ubuntu1804/x86_64/3bf863cc.pub | apt-key add - && \
echo "deb https://mirrors.aliyun.com/nvidia-cuda/ubuntu1804/x86_64/ /" > /etc/apt/sources.list.d/cuda.list && \
apt-get update && apt-get install -y --no-install-recommends \
    cuda-cudart-11-0=11.0.221-1 \
    cuda-compat-11-0 &&\
    rm /usr/local/cuda && ln -sf /usr/local/cuda-11.0 /usr/local/cuda && \
    apt-get update && apt-get install -y cuda-command-line-tools-11-0=11.0.3-1 && \
    rm -rf /var/lib/apt/lists/*
可以用下面的命令,来验证安装的是否正确。
nvcc -V